PLANT FRIENDS MKII
SENSOR
NODE
ENCLOSURE
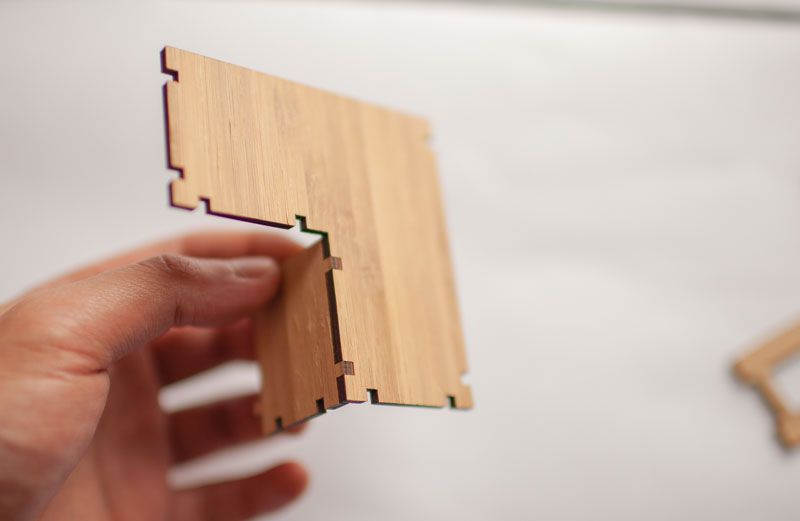
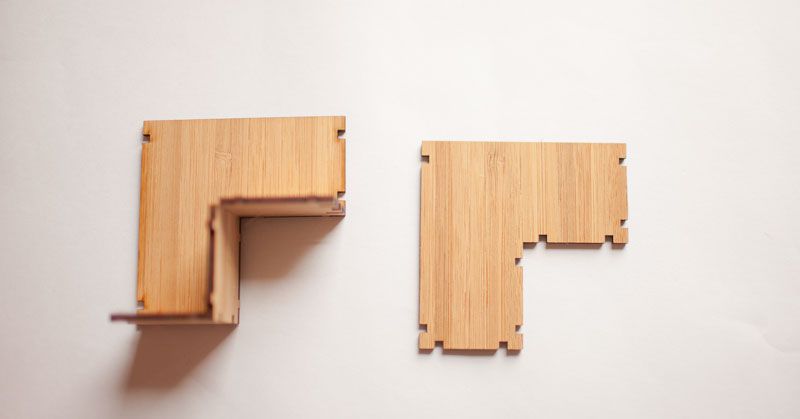
The sensor node is a little naked right now so let's build the enclosure. These are the pieces for the sensor node enclosure.
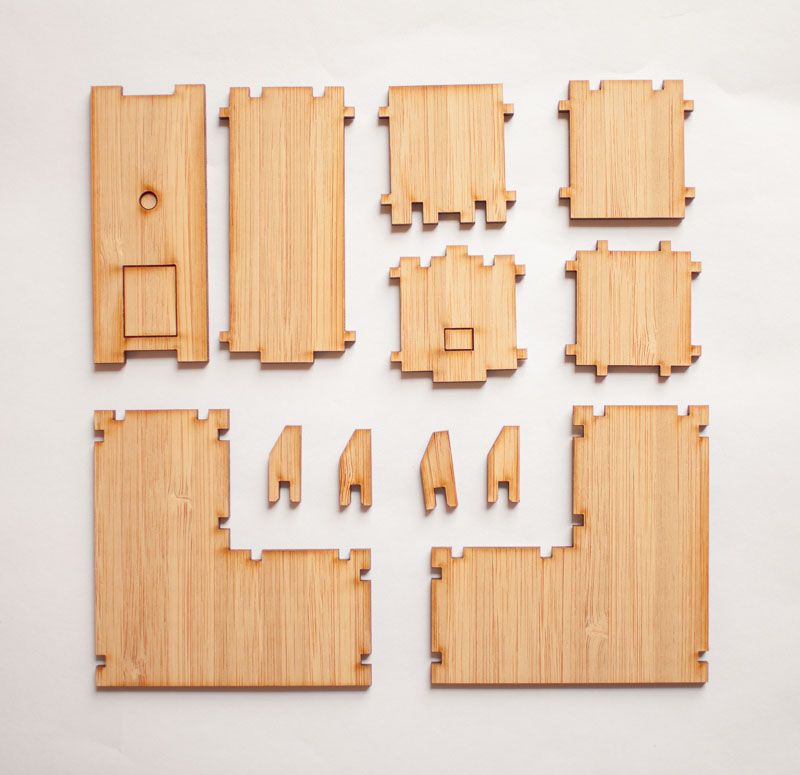
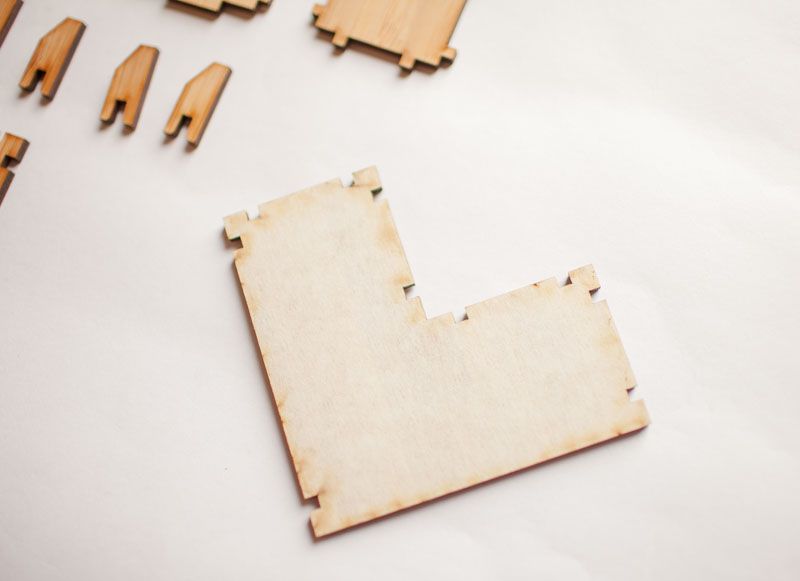
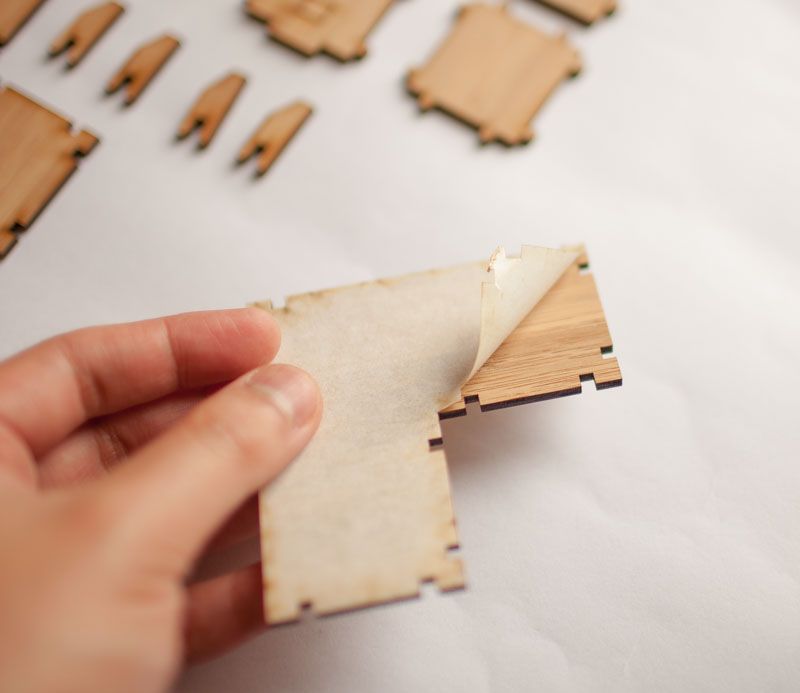
The side with the protective tape should be facing out. Take the large side panel and peel off the tape.
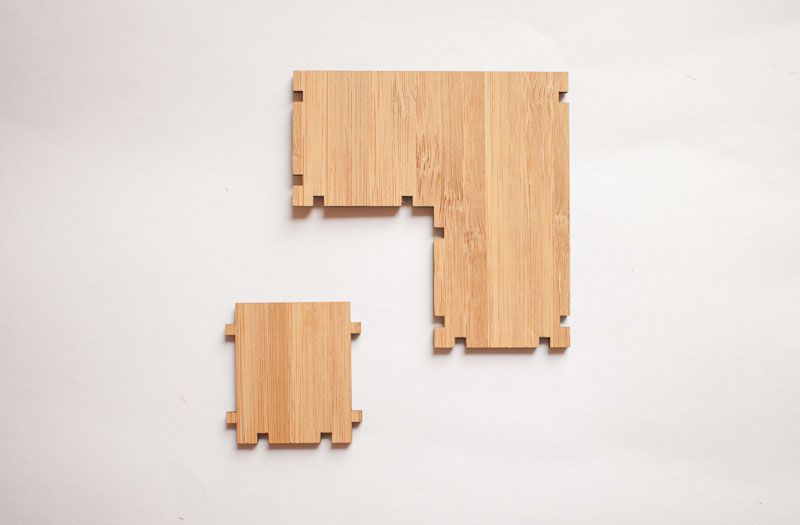
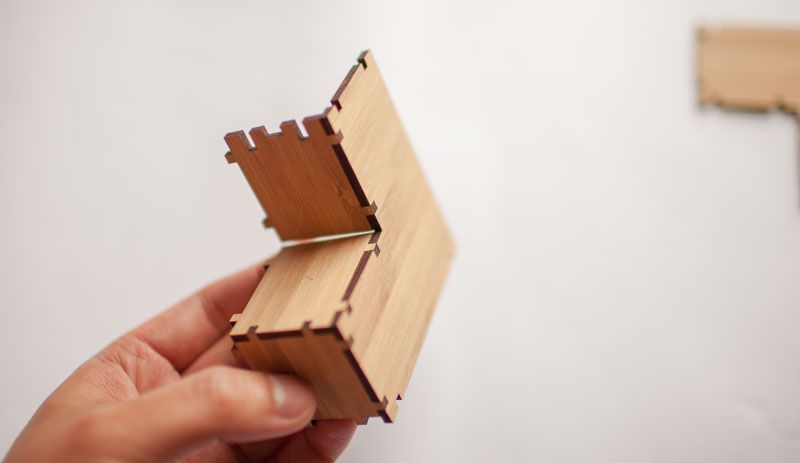
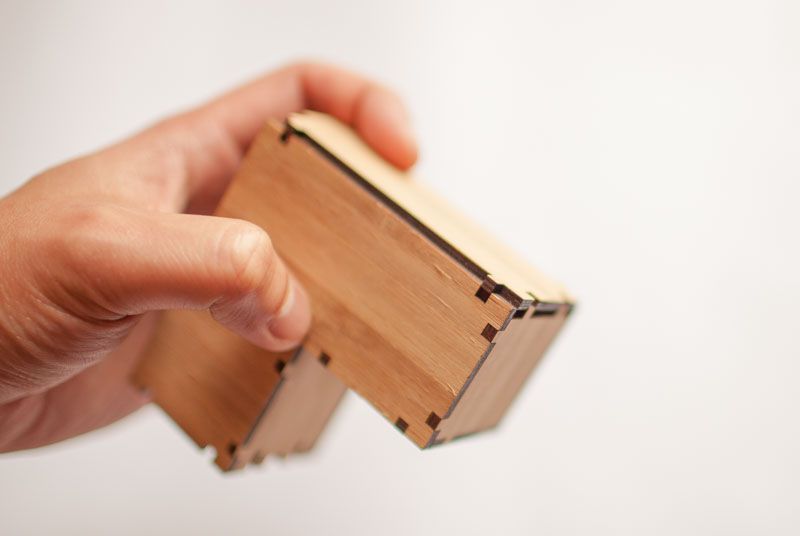
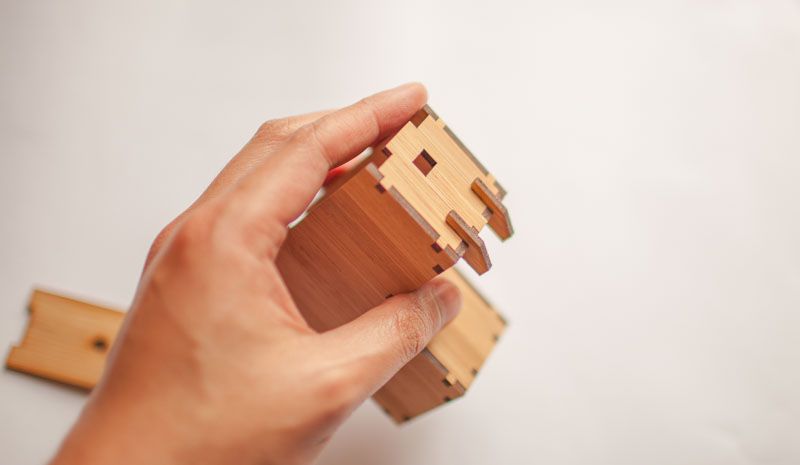
Take the inner panel and connect the tabs. The small tabs should snap into the slot. You might need to use some force but don't over do it.

Now connect the bottom panel.
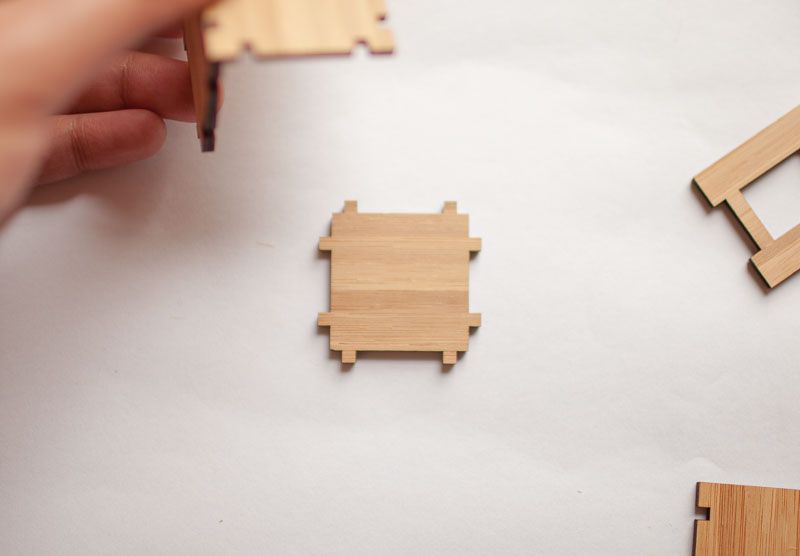
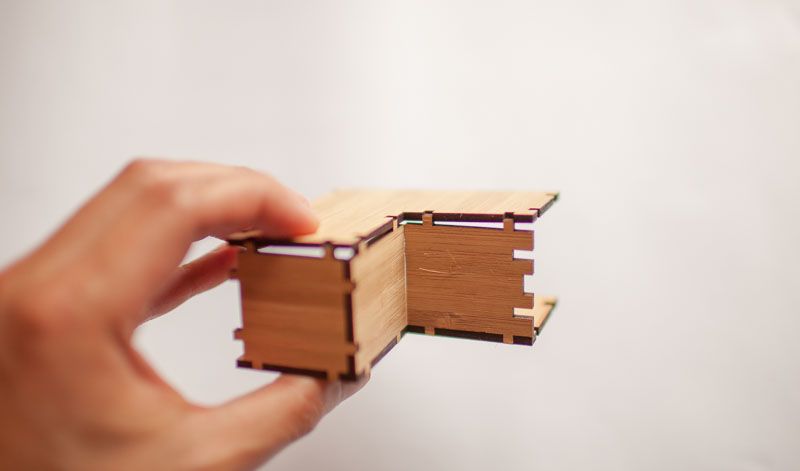
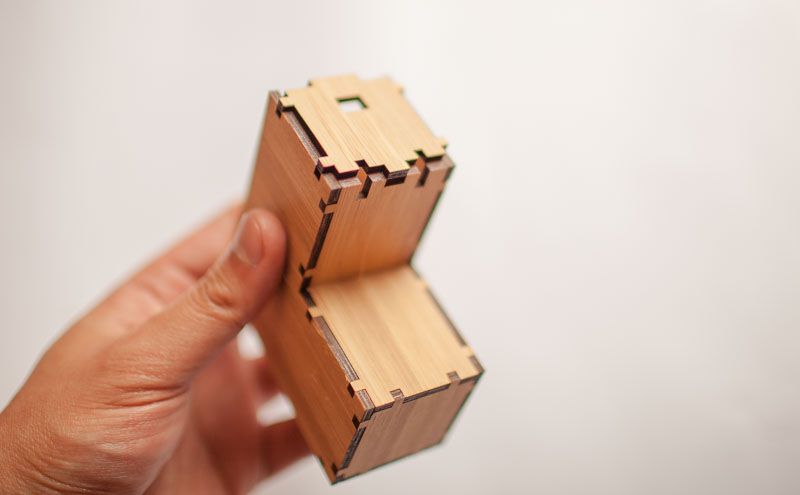
Connect the inner underside panel.
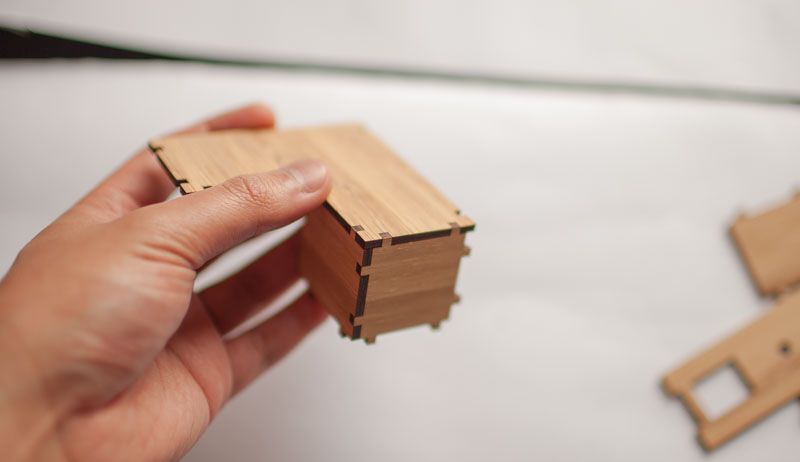
Now connect the large side panel on the opposite side.
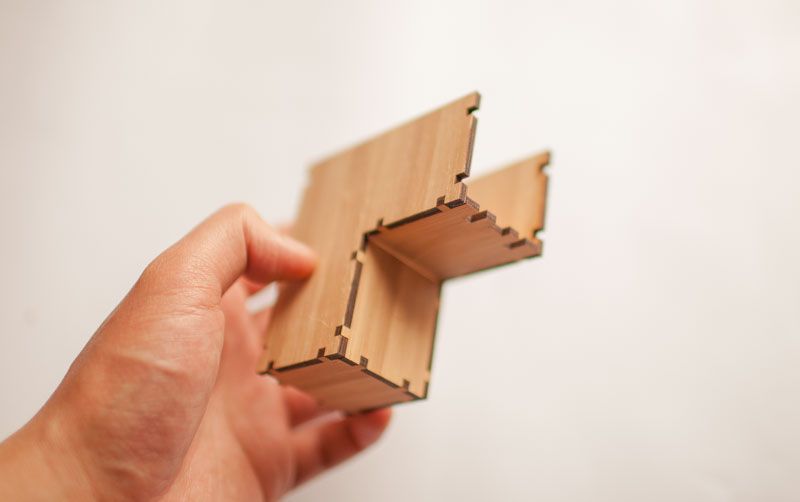
The back panel.


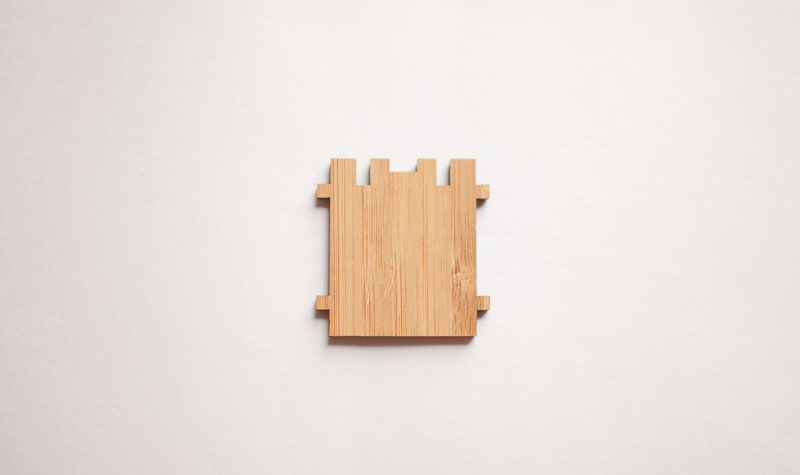
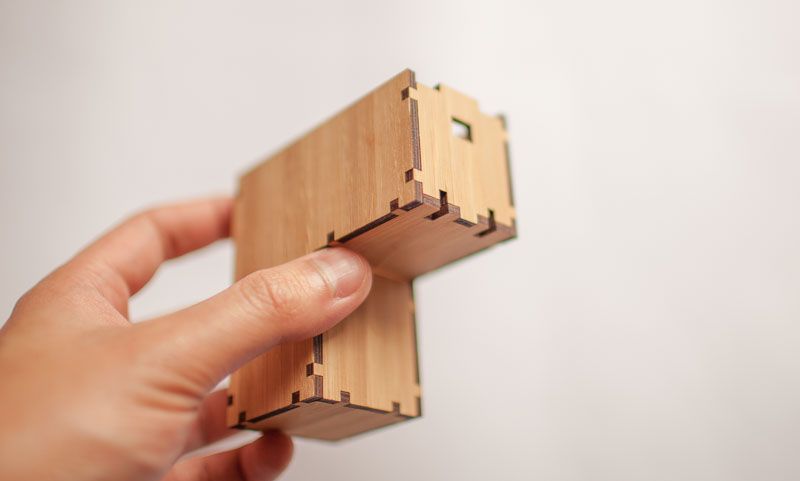
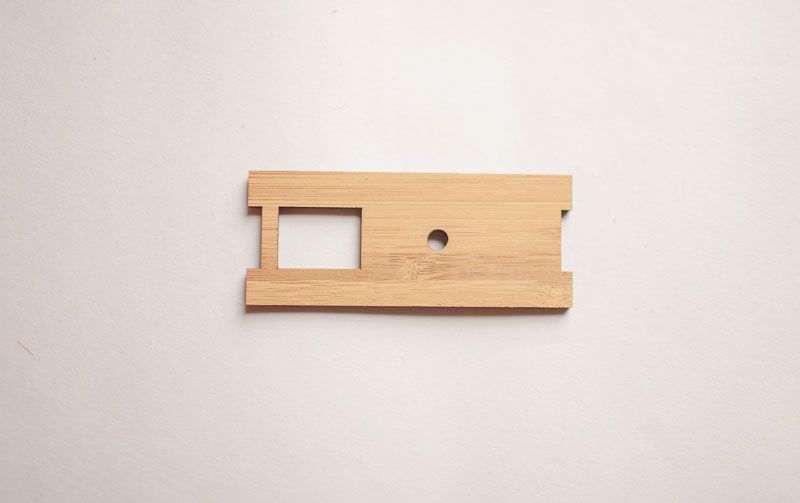
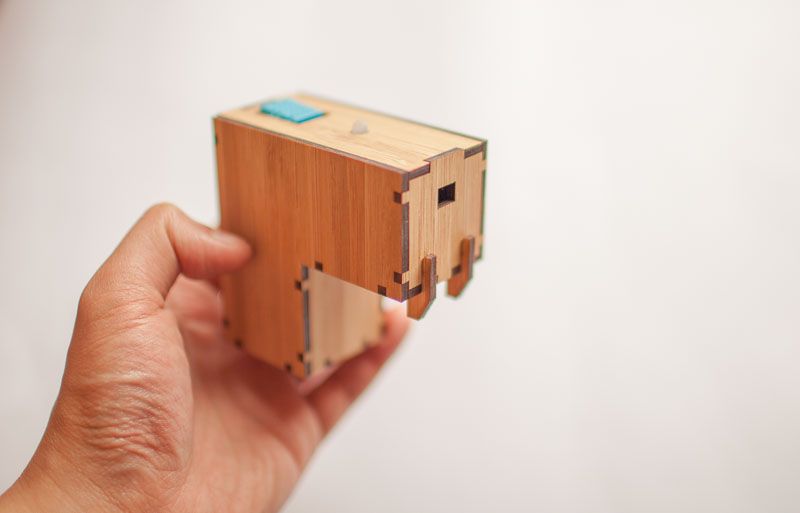
The small panel with openings.The square aligns with the male angled headers and the bottom slots is where the supports will go.

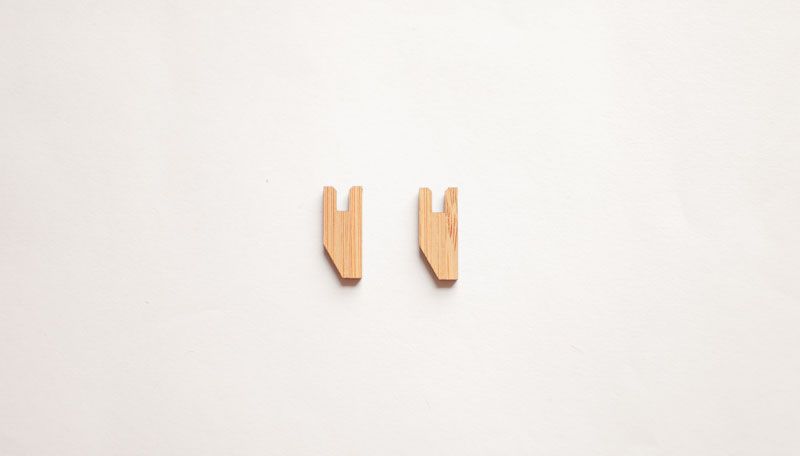
The support tabs. This will allow the sensor node to hang from the edge of the pot.

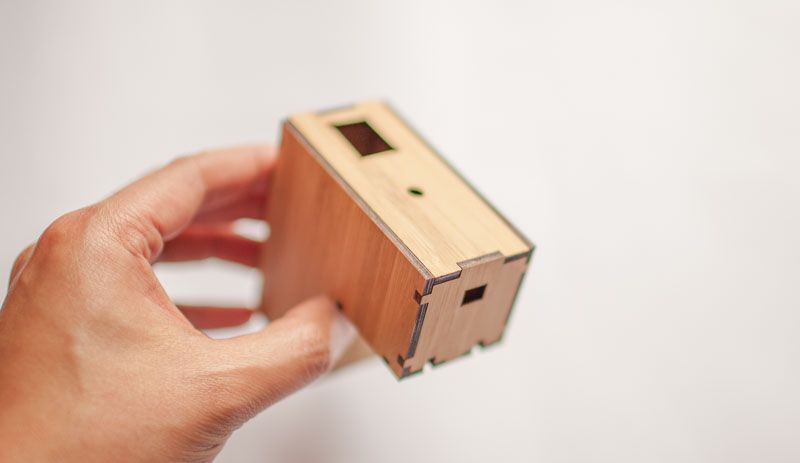
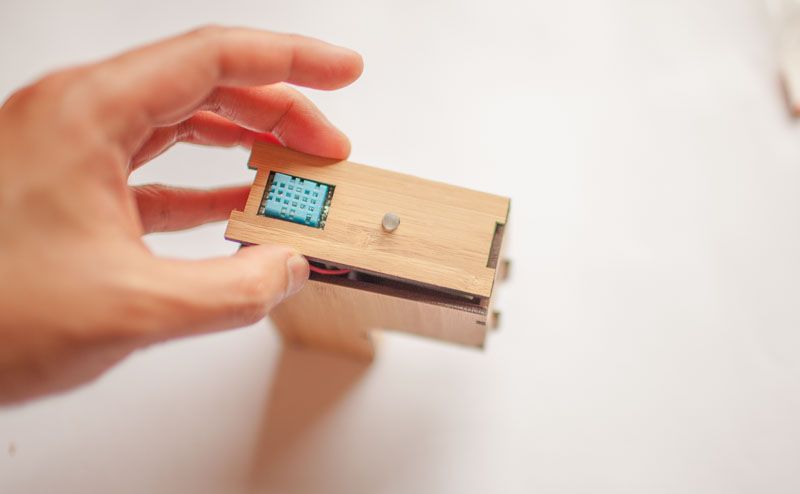
Let's test fit the lid. The cutouts aligns with the DHT11 sensor and LED.

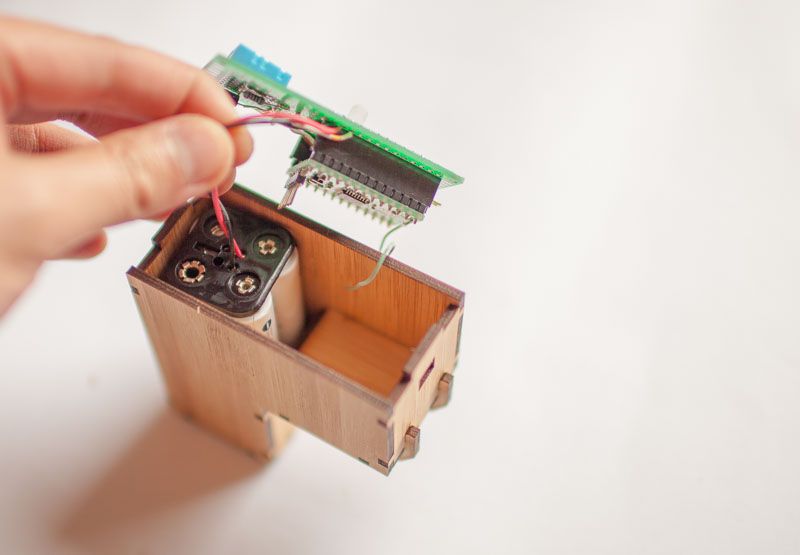
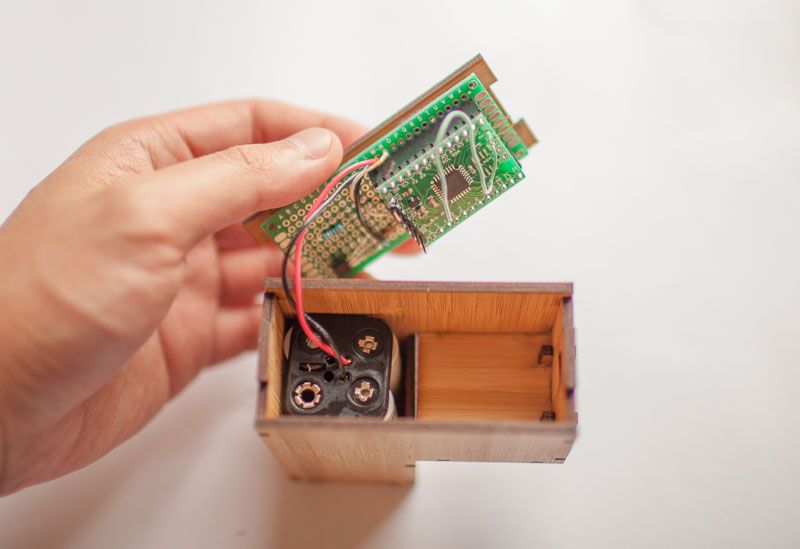
Put the electronics in and do a test fit. The battery pack sits like this.
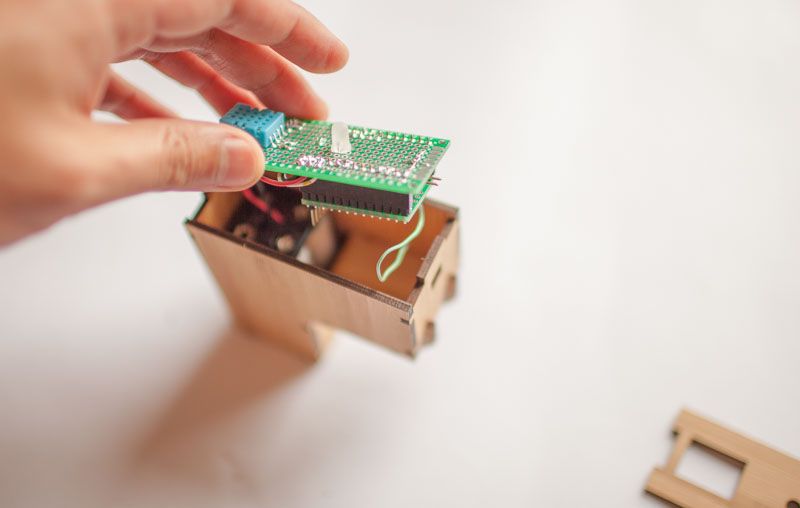
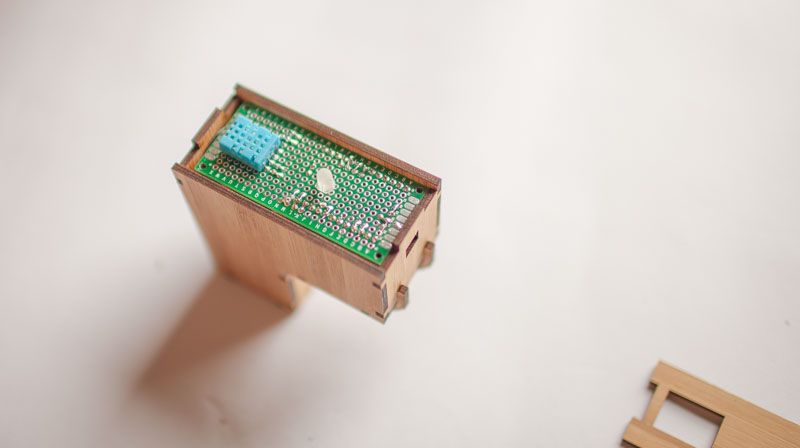
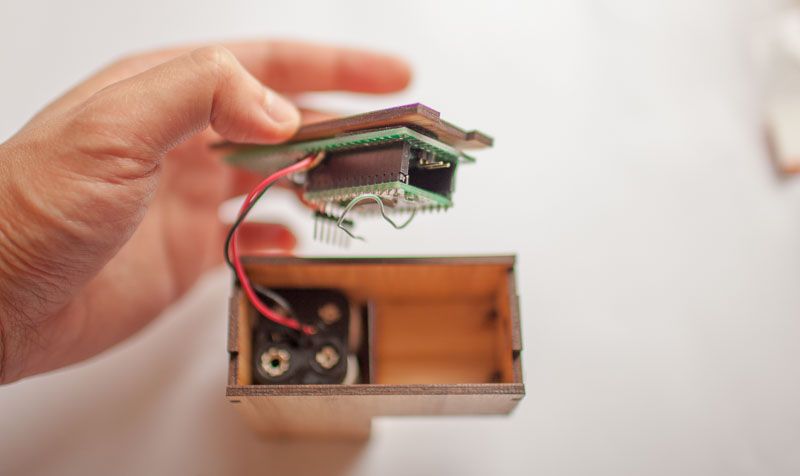
Align the LED and humidity sensor to the lid. The lid should snap on.
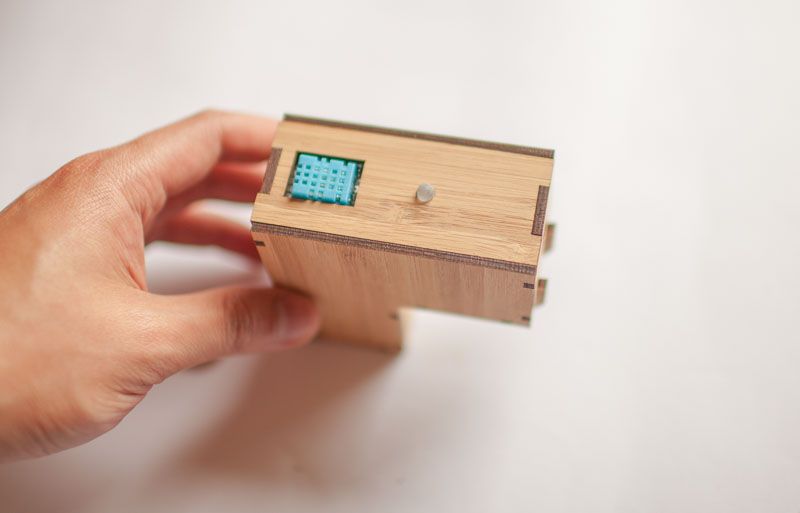
Great, everything fits. Use double sided tape or hot glue to secure the protoboard to the lid.

Now you can hang the sensor node on the rim of your plant pot!
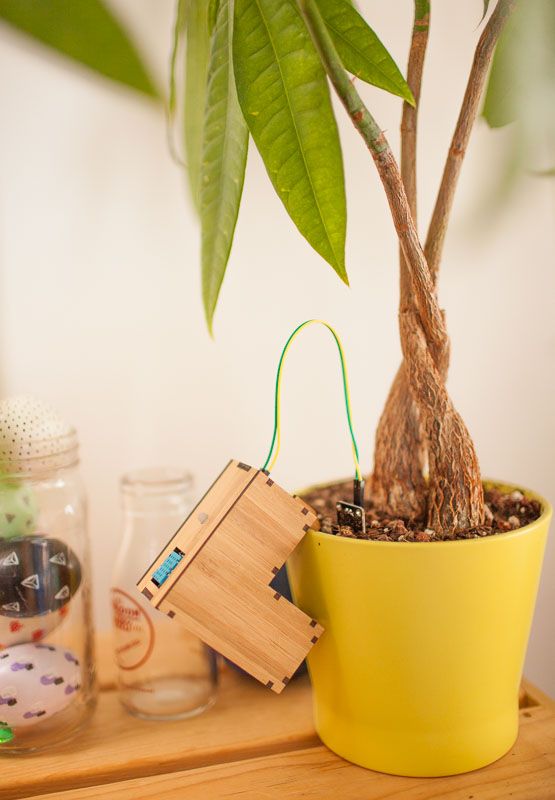
If hanging is not your thing then maybe something like this.
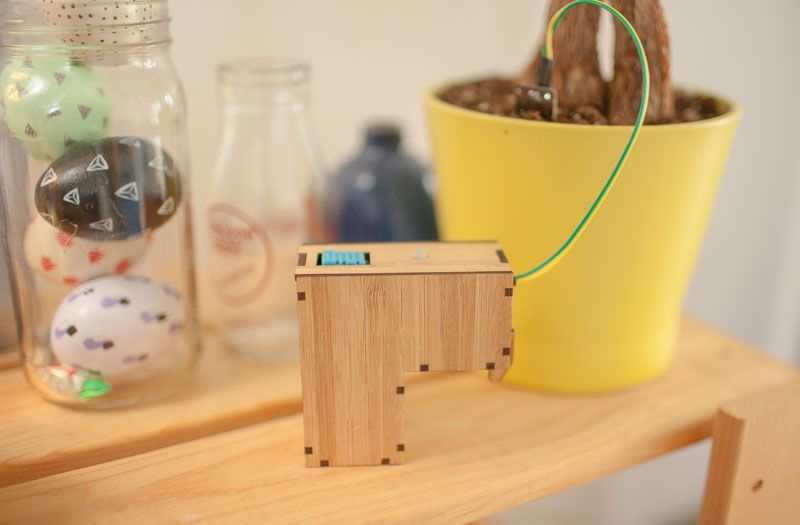
4. Sensor Node Enclosure